Attributes
attribute vec3 in_Position; // (x,y,z)
//attribute vec3 in_Normal; // (x,y,z) unused in this shader.
attribute vec4 in_Colour; // (r,g,b,a)
attribute vec2 in_TextureCoord; // (u,v)
Position vector example
varying vec2 v_vTexcoord;
varying vec4 v_vColour;
These are the vectors that get moved to fragment shader. You must have this code also in the fragment shader or else it will not receive these vectors. These are useful for getting the texture coordinates and vertex colors and sending them to the fragment shader. "void main()" is basically where the processing code goes. Functions, uniforms, (which I explain later) varying vectors, and attributes all must be done before "void main()" is used.
Finally, at the bottom of the shader you'll see these vectors being set to their corresponding attributes. Should appear like this:
v_vColour = in_Colour;
v_vTexcoord = in_TextureCoord;
This is the last step before you can access them in the fragment shader. Once they are set, they can then be used.
varying vectors
Attributes in GameMaker: Studio are vectors from outside of the shader which are for getting position, normals, color, and texture coordinate values. Position (in_Position) is a 3-dimensional vector which returns the X, Y, and Z coordinates of the current vertex. In 2D, Z is always 0. Next we have the normal (in_Normal) attribute. This is only for 3D so we won't be messing with it yet. Then we have the Color (in_Colour) attribute. Which I briefly explained was for image_blend or draw_set_color(). And finally we have the texture coordinates (in_TextureCoord). This is always a 2-dimensional vector because GameMaker doesn't support 3D textures. Attributes are only found in the vertex shader. They don't have any use in the fragment shader.
varying vec2 v_vPosition;
Now, once we define "v_vPosition", we can use it. So at the bottom of the shader (within the brackets), we will set the shader to "in_Position.xy" to get the x and y components of the position attribute. We don't have to use attributes, but we will in this tutorial. It should look like this:
v_vPosition = in_Position.xy;
Now (assuming you put the varying code in the fragment shader also), we can use "v_vPosition" in the fragment shader. For now we'll try setting "gl_Fragment" to our new vector like so:
gl_FragColor = texture2D( gm_BaseTexture, v_vTexcoord );
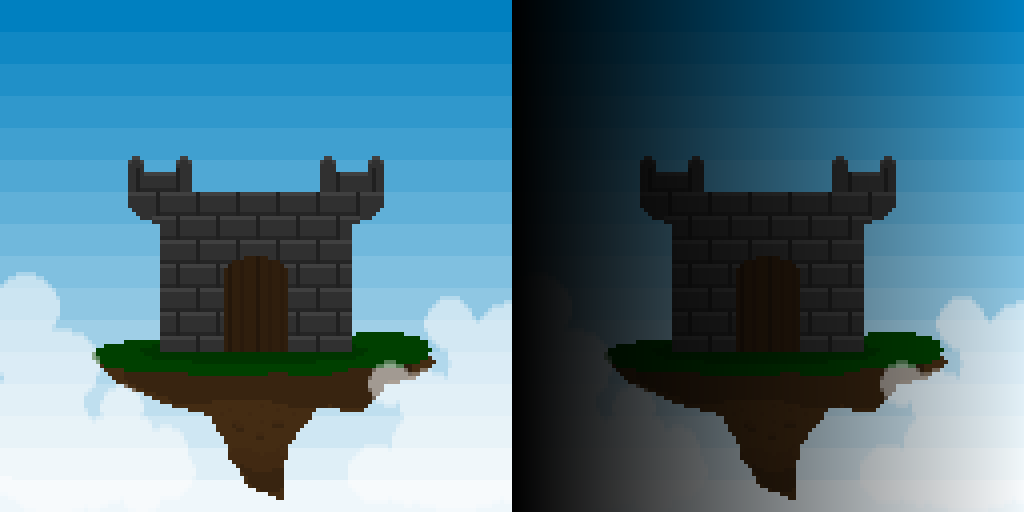
gl_FragColor *= vec4(vec3(v_vPosition.x/512.0),1.0);
This will multiply the color to the horizontal position divided by 512 (to increase the color range). It also keeps alpha at 1 so we can see what we're doing. This was the result:
Functions
Next you put the name of function, with the arguments. We'll name it "rand" with one 2D vector argument called "p" (position). You should have a similar result:
float rand( vec2 position)
Now we need to tell what it does. We'll add this code:
float rand( vec2 p)
{
return fract( cos( dot( p, vec2(5.237,6.378)))*8463.648);
}
"return" is put before the value you want to return. Here we return this random number generated using the position vector and math (fract gets the fraction part,cos is used for randomizing and dot is used to convert the position to a float). To test this function, we'll try this code:
gl_FragColor = texture2D( gm_BaseTexture, v_vTexcoord );
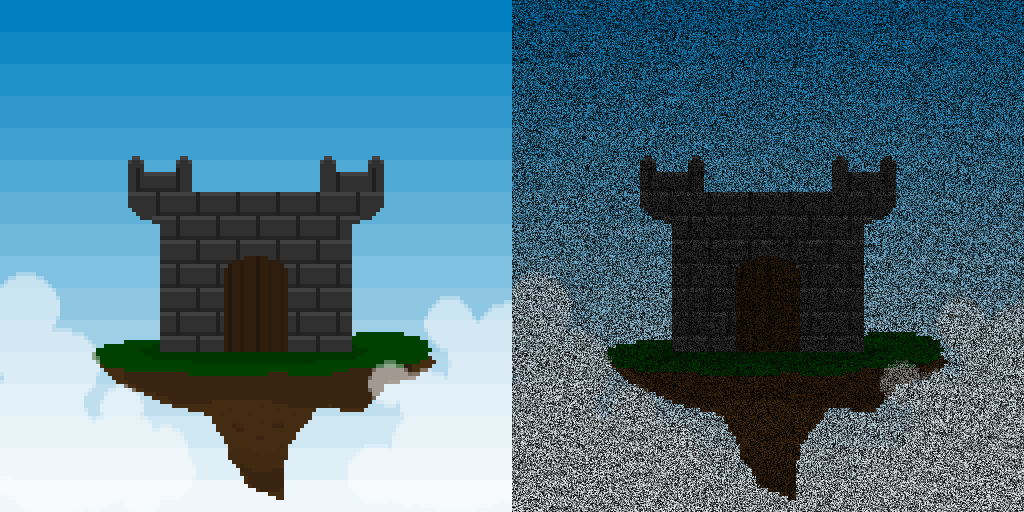
gl_FragColor *= vec4( vec3( rand(v_vPosition)), 1.0);
This code uses our random function with our position vector to generate noise:
Perlin Noise
float noise( vec2 p)
{
float x1 = rand(vec2(floor(p.x),floor(p.y)));
float x2 = rand(vec2(ceil(p.x),floor(p.y)));
return mix(x1,x2,fract(p.x));
}
"floor()" returns the number rounded down, while "ceil()" does the opposite. We do this because our function will use fractional positions. Our current rand function does not smooth fractional positions like we'll want. Now we make this 2-dimension (vertically too). We'll use this code:
float noise( vec2 p)
{
float x1 = rand(vec2(floor(p.x),floor(p.y)));
float x2 = rand(vec2(ceil(p.x),floor(p.y)));
float top = mix(x1,x2,fract(p.x));
x1 = rand(vec2(floor(p.x),ceil(p.y)));
x2 = rand(vec2(ceil(p.x),ceil(p.y)));
float bottom = mix(x1,x2,fract(p.x));
return mix(top,bottom,fract(p.y));
}
This repeats the horizontal noise, but lower, and mixes the values based off the height.
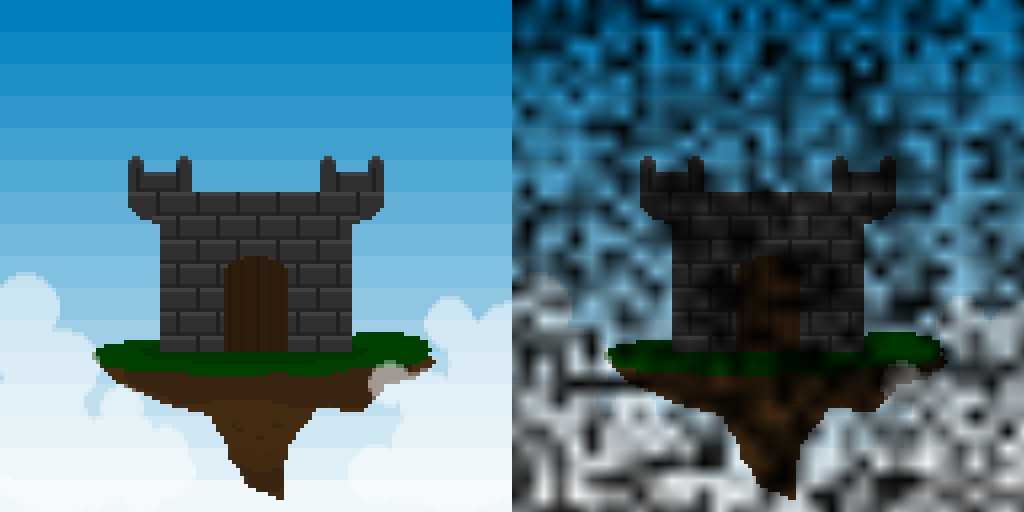
Now after setting the color to noise instead of rand, we can test it! Here's my result:
First I would like to smooth it with "smoothstep()". "smoothstep()" is for cubic interpolation, so it will make it smoother. We'll put this around all the "fract()" functions to smooth them with the arguments 0.0 and 1.0 first, like this:
float noise( vec2 p)
{
float x1 = rand(vec2(floor(p.x),floor(p.y)));
float x2 = rand(vec2(ceil(p.x),floor(p.y)));
float top = mix(x1,x2,smoothstep(0.0,1.0,fract(p.x)));
x1 = rand(vec2(floor(p.x),ceil(p.y)));
x2 = rand(vec2(ceil(p.x),ceil(p.y)));
float bottom = mix(x1,x2,smoothstep(0.0,1.0,fract(p.x)));
return mix(top,bottom,smoothstep(0.0,1.0,fract(p.y)));
}
Finally, we'll repeat the noise like this:
float n = (noise(v_vPosition/16.0)*0.2 +noise(v_vPosition/32.0)*0.2
+noise(v_vPosition/64.0)*0.3 +noise(v_vPosition/128.0)*0.3 );
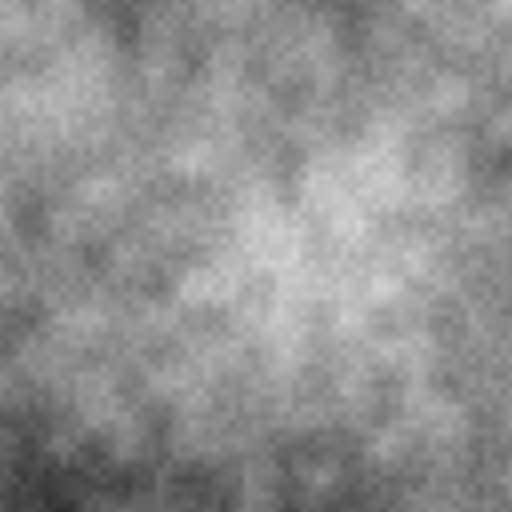
gl_FragColor = vec4(vec3(n),1.0);
This sets n to noise at different scales (the noise is between 0 and 1) then shows the "n", ignoring the texture. It should look like this:


 RSS Feed
