In the last tutorial I explained how to create 3D lights using vertex attributes. Today, I'll explain 3D distortion. The main difference is that 3D distortion is done in the vertex shader unlike our last 2 shaders. That means you can move each vertex with the vertex shader.
Flattening shapes
We will first try making a shader that flattens the 3d shapes. To do this we will simply set the z position to 0 for all vertices while leaving x and y positions unchanged. Make sure to comment out the normal attribute and use the default pass through fragment shader.
An important variable is "object_space_pos". It is the variable we can use for setting the position.
We will use the x and y components but will use 0 instead of z.
Here is the result:
An important variable is "object_space_pos". It is the variable we can use for setting the position.
We will use the x and y components but will use 0 instead of z.
Here is the result:
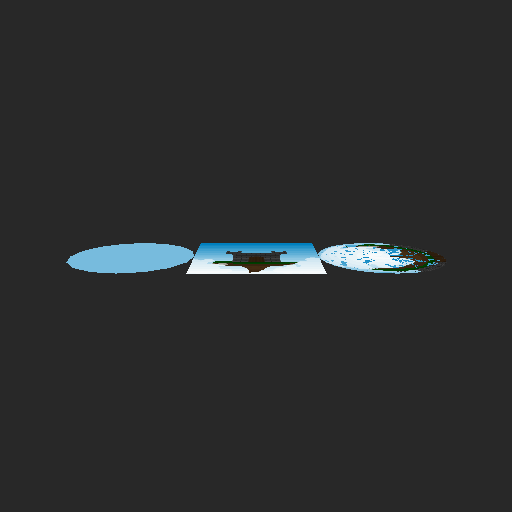
As you can see the shapes are properly flattened. Because you now know how to change the vertex position we'll try making water.
Creating a plane
Before we begin with the water shader, we will need something to apply the shader to. We will make a plane instead of our basic shapes. In GameMaker, this may be a little tricky, because we need to generate one with enough vertices. Here is the code I used:
water = d3d_model_create();
cells = 64;//Number of cells
cell = 8;//Cell width
height = 32;//Water max height
for(var X = -cells/2;X<cells/2;X++)
{
d3d_model_primitive_begin(water,pr_trianglestrip)
for(var Y = -cells/2;Y<cells/2-1;Y++)
{
d3d_model_vertex(water,X*cell,Y*cell,height)
d3d_model_vertex(water,(X+1)*cell,Y*cell,height)
}
d3d_model_primitive_end(water)
}
This generates a plane model with many vertices to create higher quality water.
Apply your shader to this model instead of the basic shapes using "d3d_model_draw()".
water = d3d_model_create();
cells = 64;//Number of cells
cell = 8;//Cell width
height = 32;//Water max height
for(var X = -cells/2;X<cells/2;X++)
{
d3d_model_primitive_begin(water,pr_trianglestrip)
for(var Y = -cells/2;Y<cells/2-1;Y++)
{
d3d_model_vertex(water,X*cell,Y*cell,height)
d3d_model_vertex(water,(X+1)*cell,Y*cell,height)
}
d3d_model_primitive_end(water)
}
This generates a plane model with many vertices to create higher quality water.
Apply your shader to this model instead of the basic shapes using "d3d_model_draw()".
Water shader
We will use our knowledge to make detailed 3d water using perlin noise and height displacement. You should see the Vertex shader tutorial. We will be using the rand and noise functions to determine the height of the water for each vertex so put them in the vertex shader. Now we'll create a variable called height. This will be used to set the height of the water per vertex. Use this code:
float height = noise(in_Position.xy/64.0)*0.4+noise(in_Position.xy/32.0)*0.3+noise(in_Position.xy/16.0)*0.2+noise(in_Position.xy/8.0)*0.1;
That code generates a perlin noise pattern to make waves in the water.
Instead of setting the z position to 0 we'll set it to "height * in_Position.z". This makes it so we can determine the wave height by setting z position. And now finally we'll make a varying float called "v_vHeight" and pass our height variable through it. Now set the color in the fragment shader:
gl_FragColor = vec4(mix(vec3(0.1,0.2,0.4),vec3(0.1,0.1,0.3),v_vHeight),1.0);
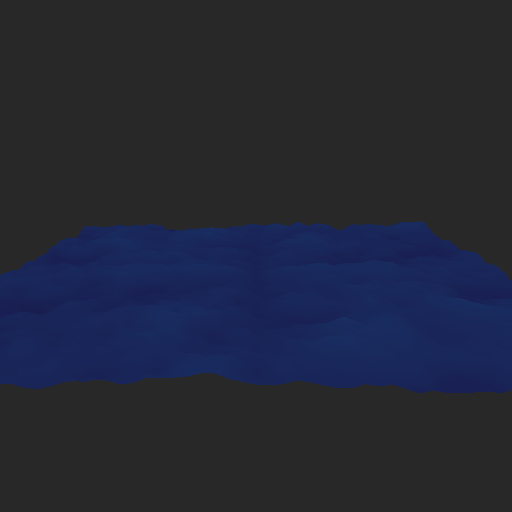
This is the result:
float height = noise(in_Position.xy/64.0)*0.4+noise(in_Position.xy/32.0)*0.3+noise(in_Position.xy/16.0)*0.2+noise(in_Position.xy/8.0)*0.1;
That code generates a perlin noise pattern to make waves in the water.
Instead of setting the z position to 0 we'll set it to "height * in_Position.z". This makes it so we can determine the wave height by setting z position. And now finally we'll make a varying float called "v_vHeight" and pass our height variable through it. Now set the color in the fragment shader:
gl_FragColor = vec4(mix(vec3(0.1,0.2,0.4),vec3(0.1,0.1,0.3),v_vHeight),1.0);
This is the result:
 RSS Feed
